Export Code
Easily export code for single or multiple screens, directly from Figma or DhiWise. Within a few clicks export code, add the code to your existing apps or start creating a new one.
Using DhiWise Figma Plugin
While using DhiWise Figma-to-code plugin in Figma for your app’s design, you can directly get your desired screens code right away from the design. DhiWise provides an option to export the screen to get the code for only the selected one.
While exporting you can select between code types to get only widgets design code or complete code along with GetX state management, so you can also add code to your existing apps.
Step 1:
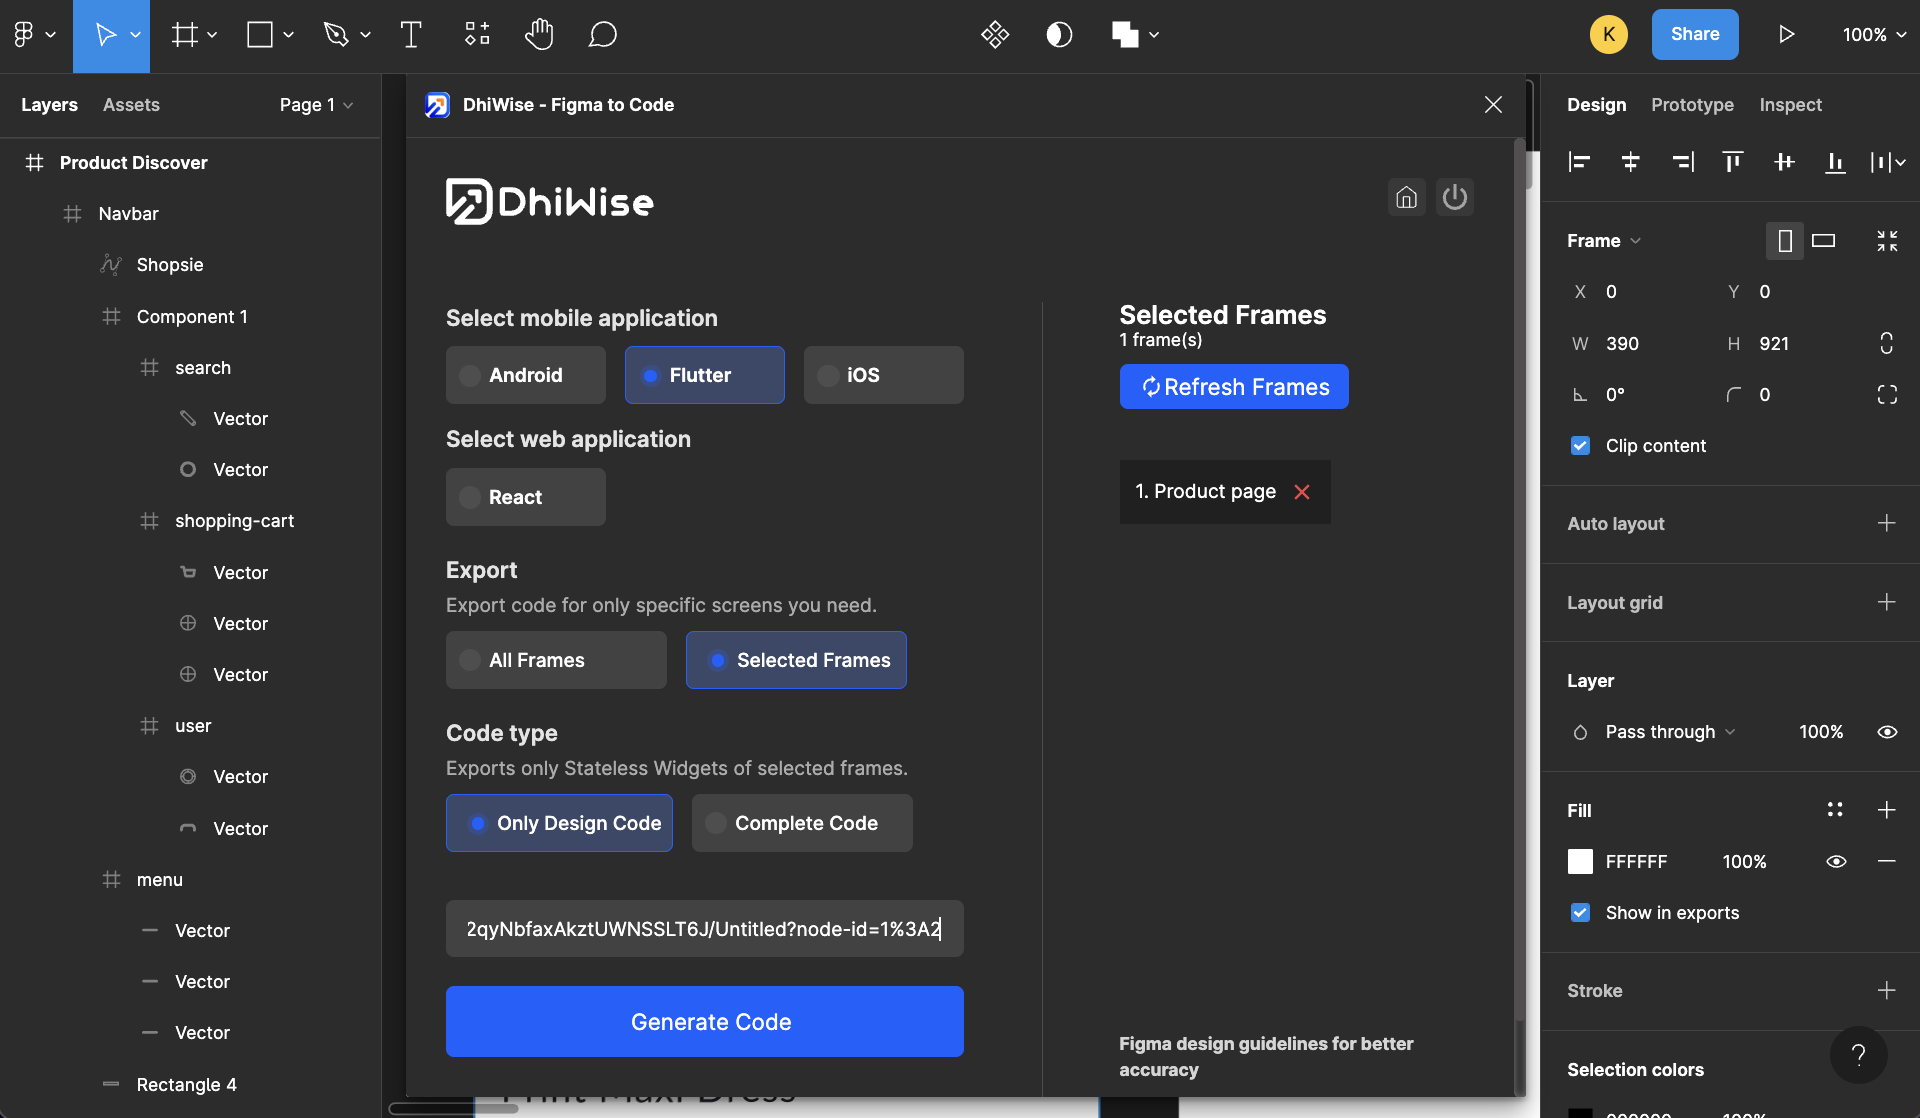
After activating the DhiWise Figma plugin, select the screens in Figma design for which you want to export the code.
Step 2:
Next, select Flutter for mobile technology, and ensure the Selected Frames option is selected under Export option in the plugin panel.
On the right, as you have chosen Selected Frames options, all the selected screen names will be displayed for your ease.
Step 3:
Now, for Code type select Only Design Code, to get only the widgets design code or select Complete Code to the entire widgets code using GetX state management support. Lastly, add your Figma file URL.
Step 4:
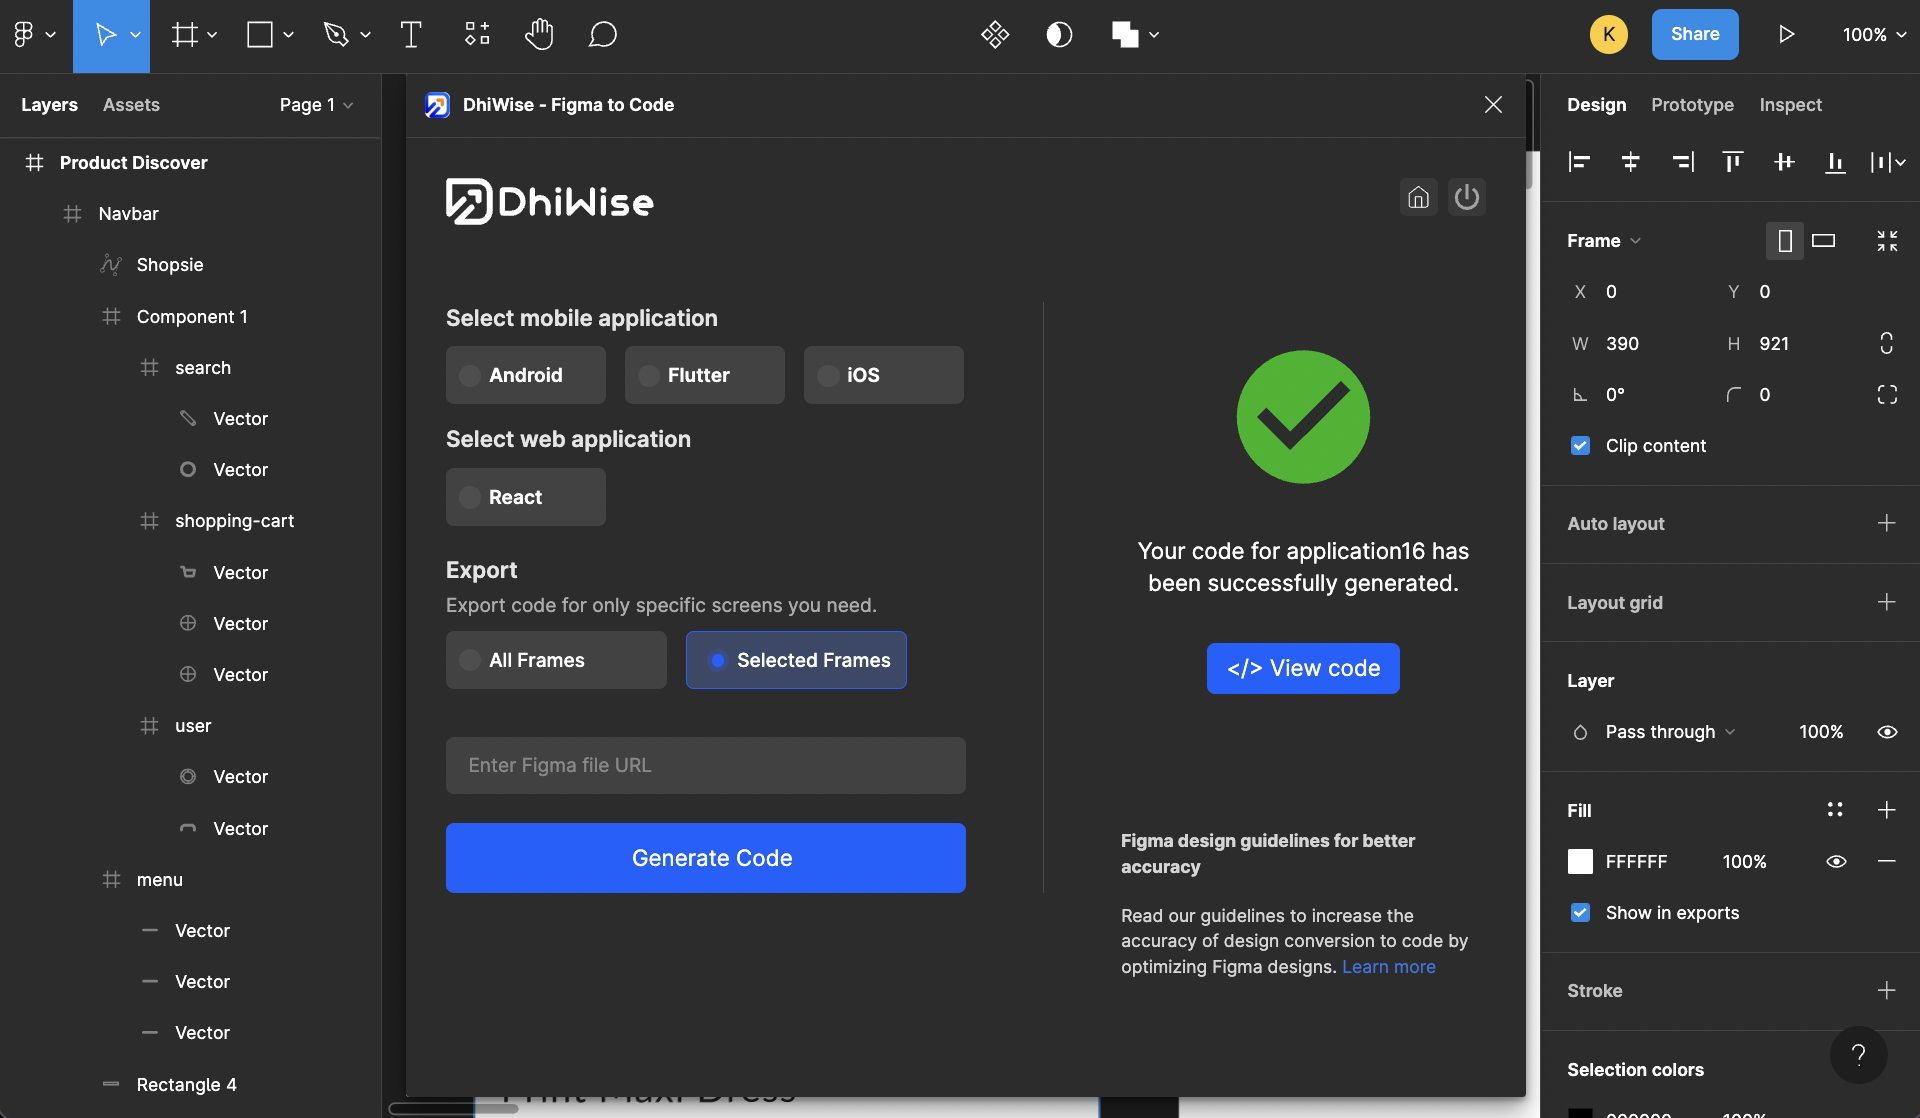
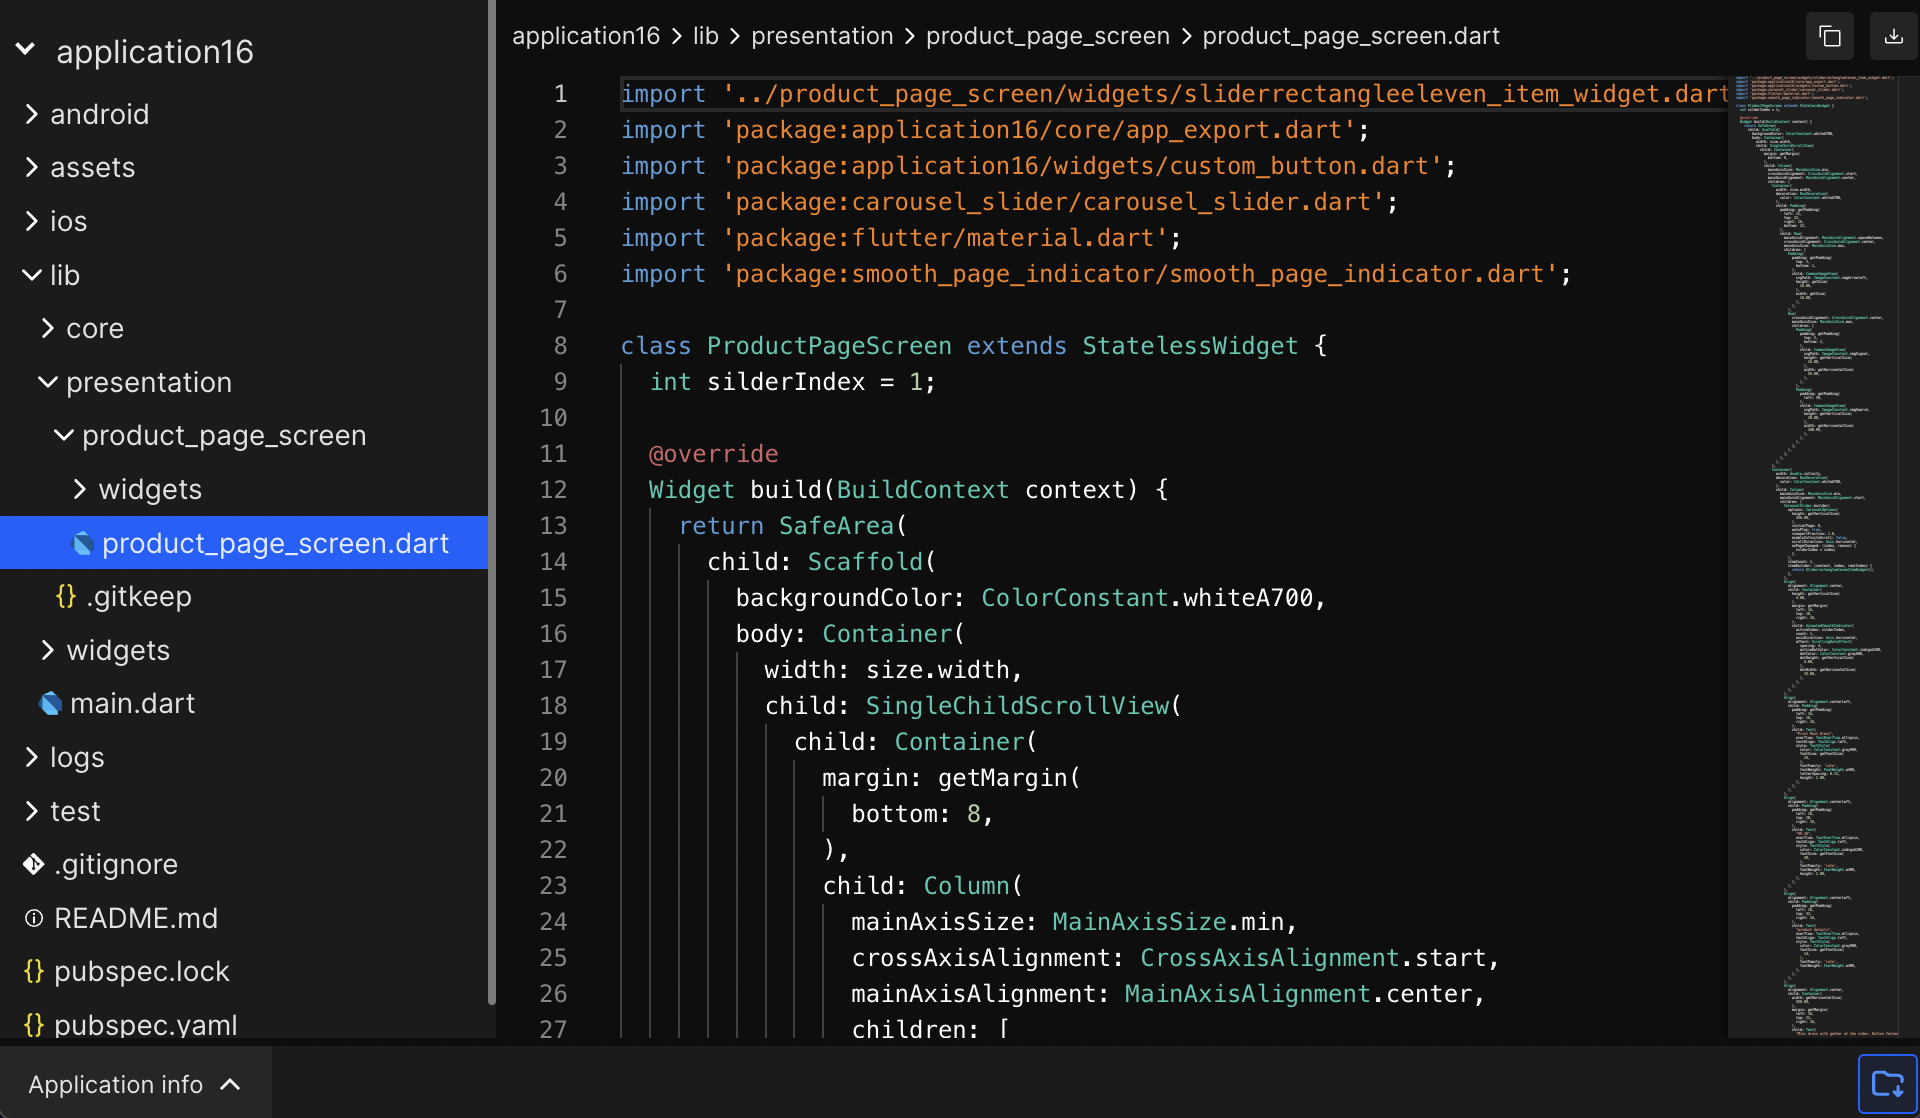
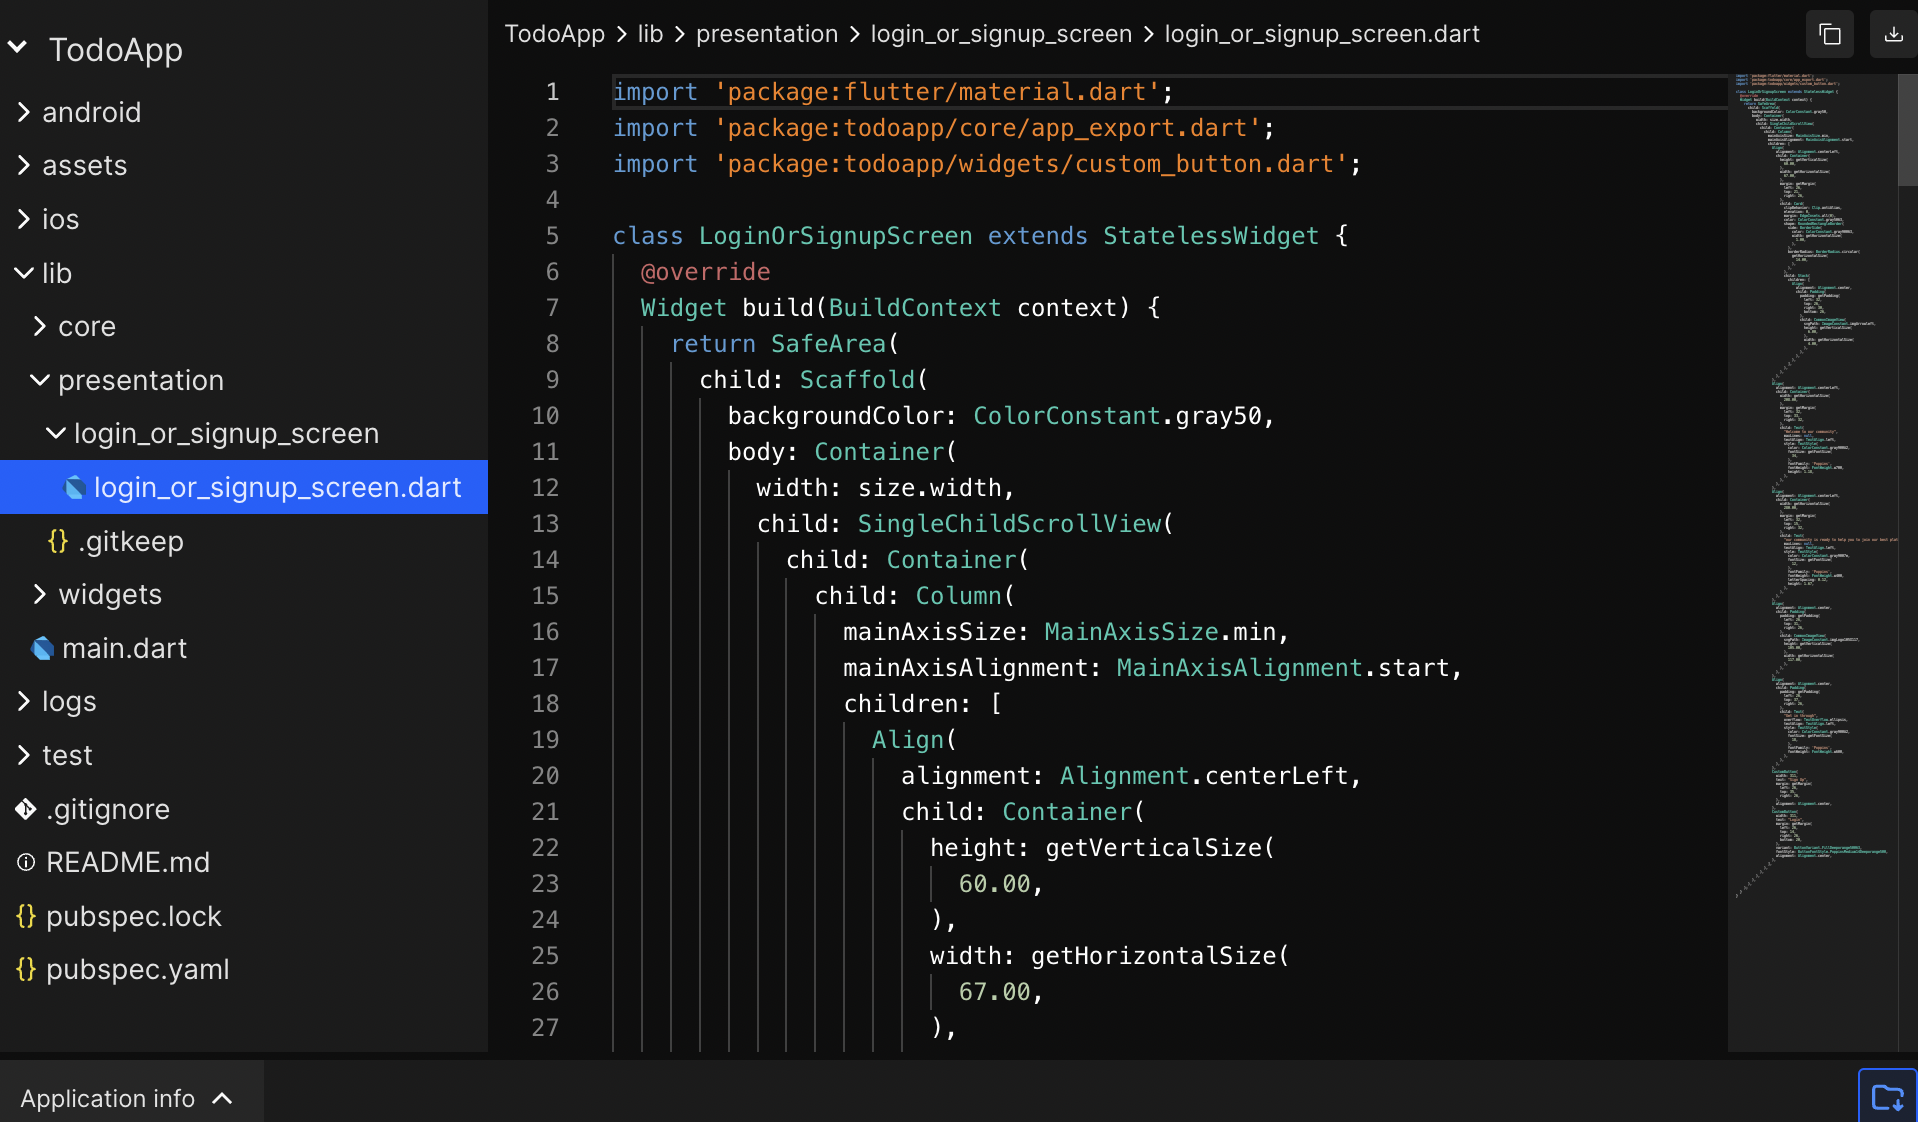
Click on Generate Code button. This will start building your screen code and once it's built view the entire generated code by clicking on the View Code button. Then you can download the same and add it to your existing app code or start fresh with a new app.
From App Screenlist
Export screens code from your created app in DhiWise.
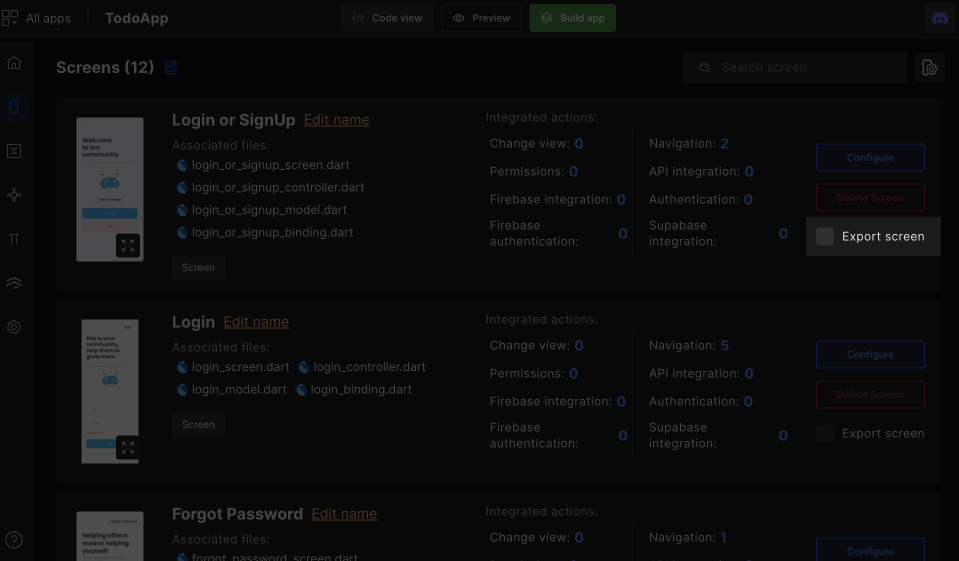
Step 1:
Go to the screen list for your created application.
Step 2:
Go to the screen you wish to export and select the checkbox Export screen.
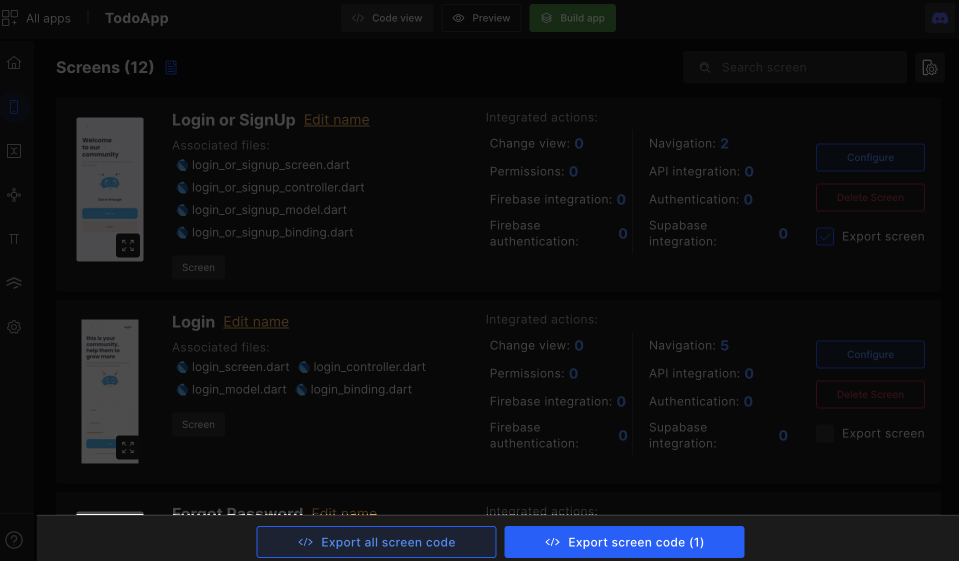
Step 3:
Once you select it, two options will appear:
- Export all screen code: You can export code for all your app screens.
- Export screen code: You can export code only for the selected screens.
Step 4:
Next, you will get two options for code type:
- Only Stateless Widget: Export only selected screens design code.
- Widget + GetX State Management: Export only selected design + GetX state management.
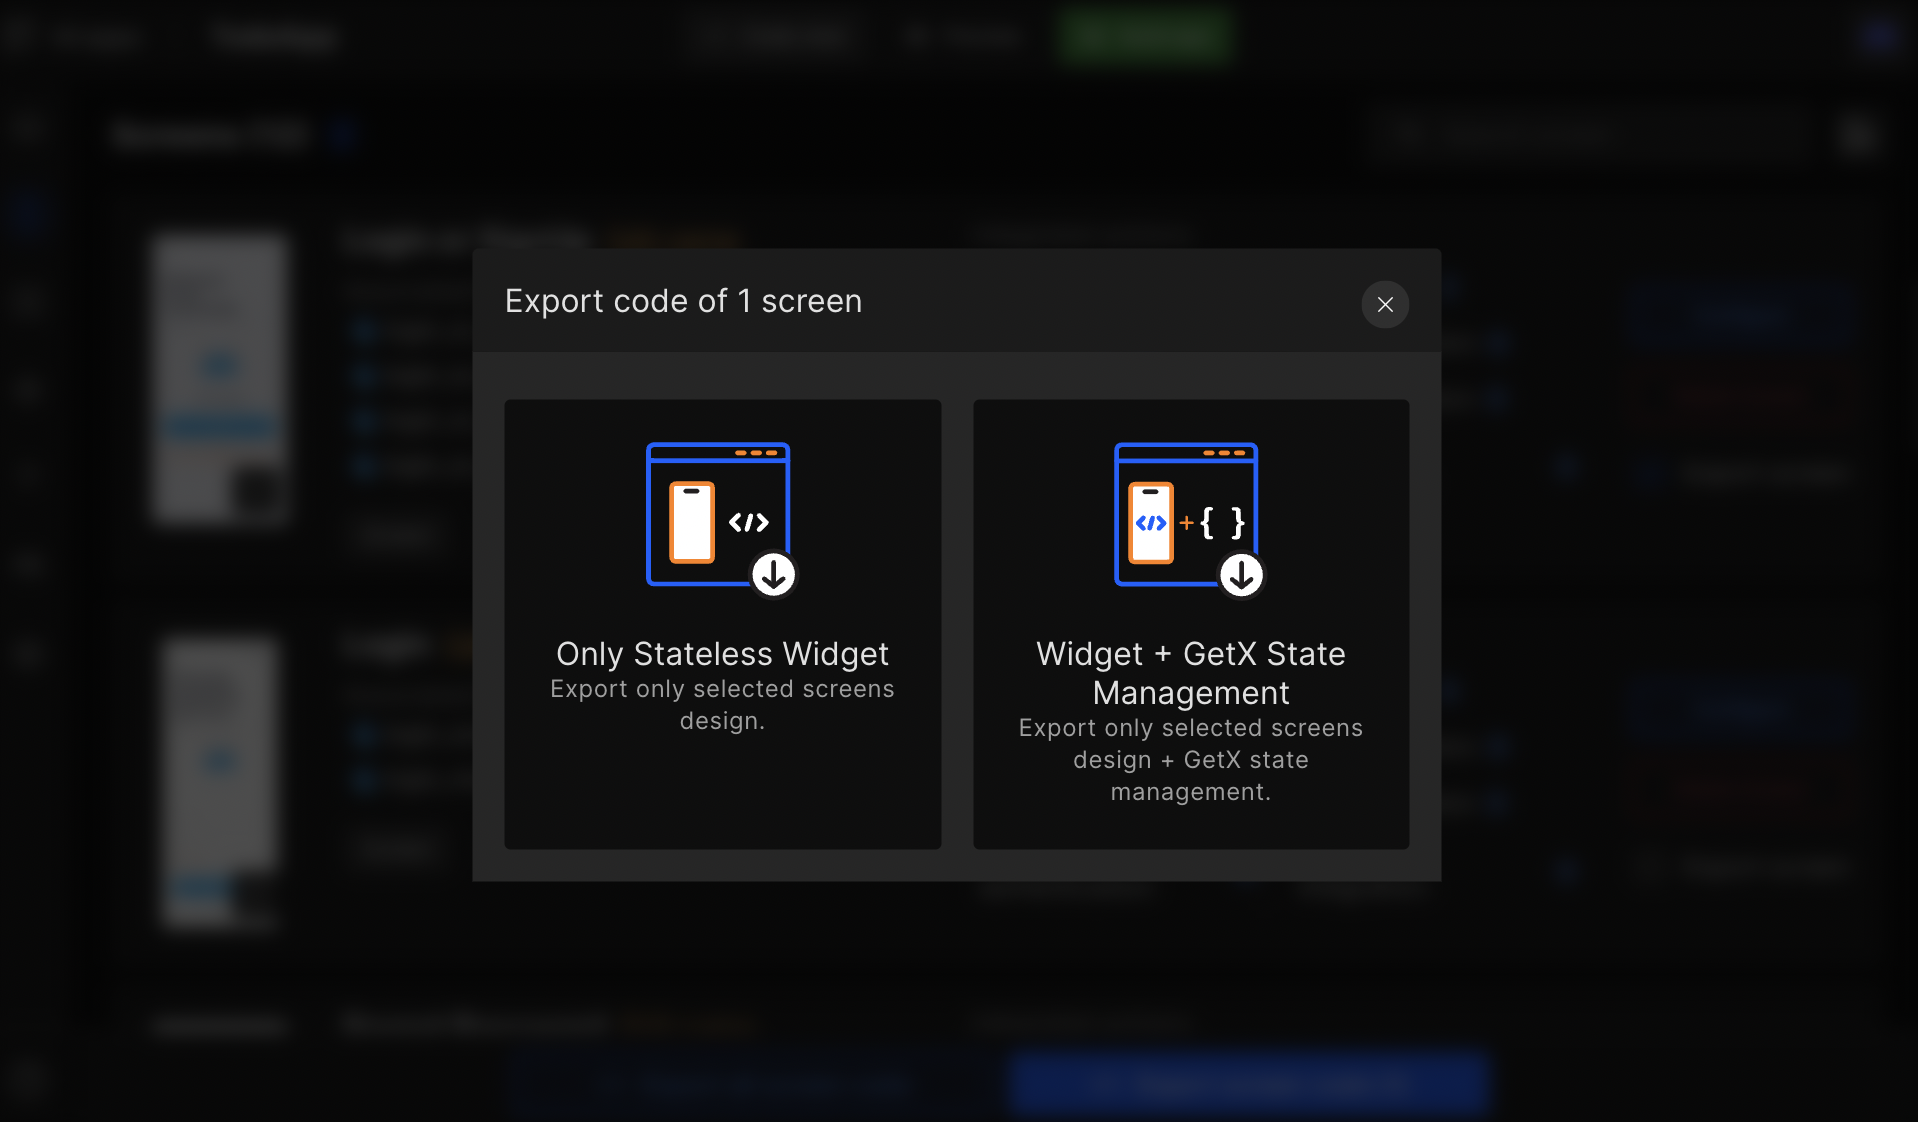
To start creating a Flutter app from the initial without any state management, choose Only Stateless Widget.
And if you want the code with state management for your selected app screens, choose Widget + GetX State Management.
Step 5:
Once you select your choice, the selected screens code will start to generate;
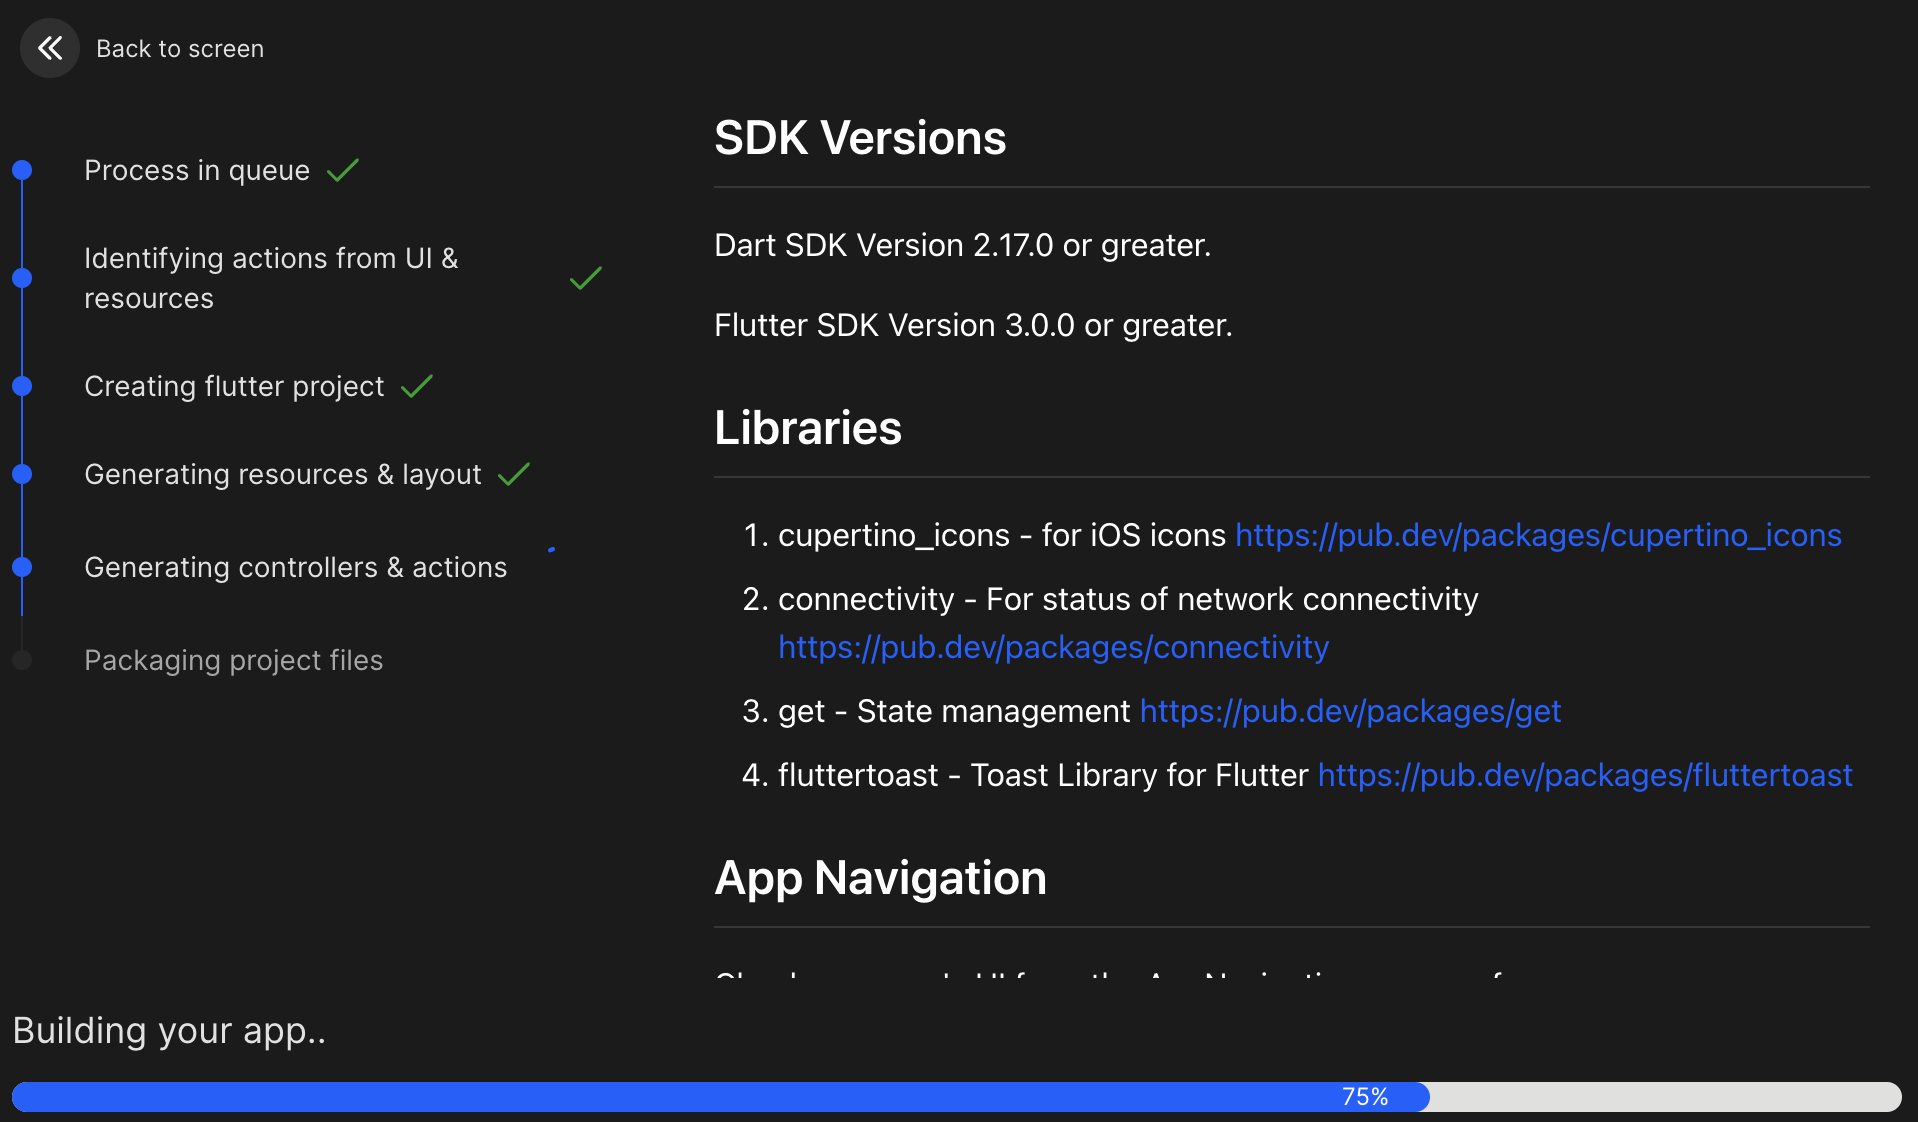
Once the code is generated, it will redirect you to the generated code screen.
You can easily download the source code or simply Copy to clipboard from here easily and can add the selected screens code into an existing app or start creating a new one using it.
Got a question? Ask here.